Adding Logos to a Receipt
Some pointers:
-
You should try to keep one logo per theme.
-
You can have more than one logo on a site; however, this could become very difficult to control later.
-
Logos need to be kept simple for them to be usable
-
If you are using a printer as both a receipt printer and a dispense printer, it will print the logo on all dispense tickets.
Picture format
-
BMP (bitmap) file type
-
461-pixel width size
-
Under 200KB
-
16bit
-
Black and white (this will be turned to monochrome in Aztec)
To add your logo:
-
Convert your logo based on the format outlined above.
-
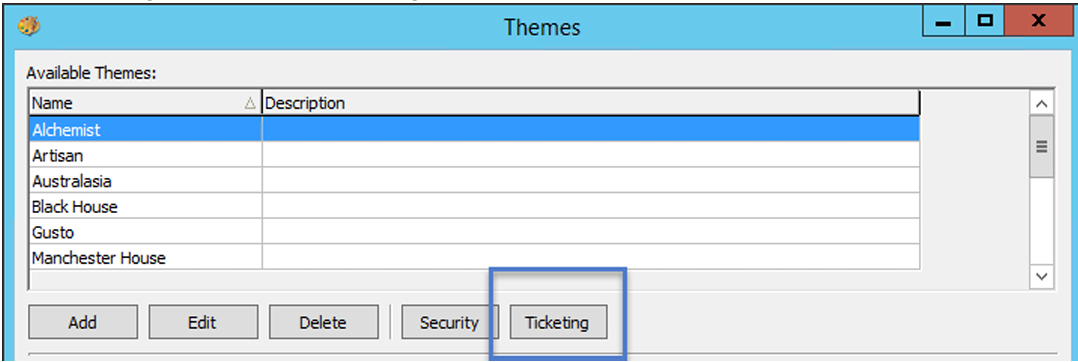
Go to Theme Modelling, followed by Themes and then Ticketing
-
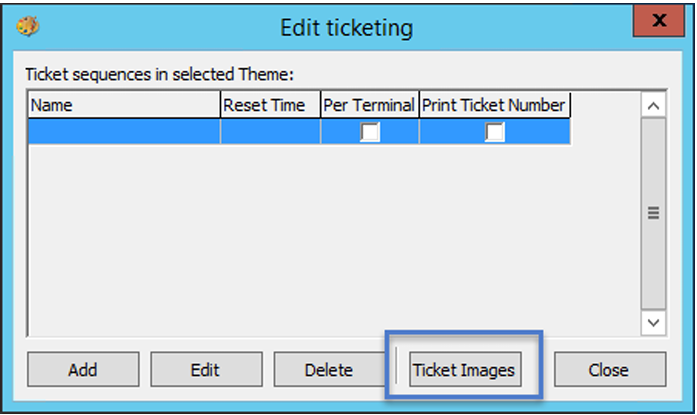
Select Ticket Images
-
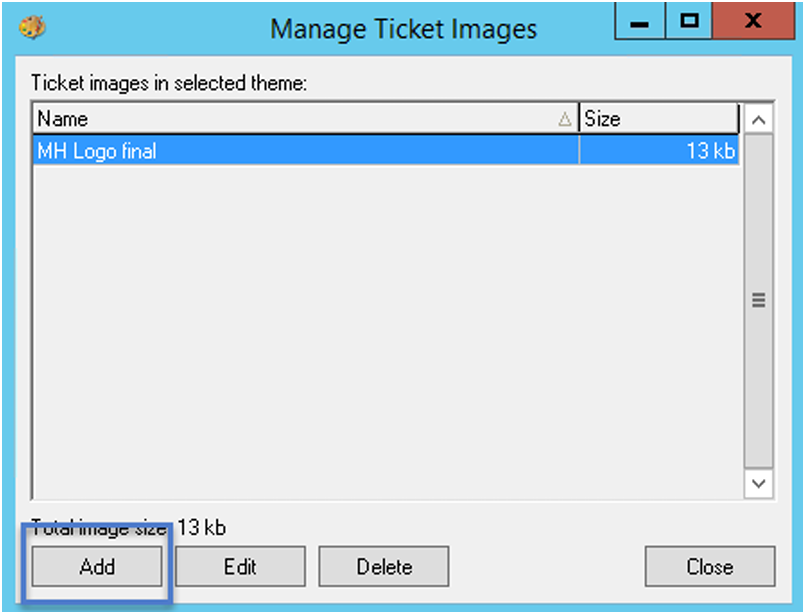
Next, to add a new ticket image, select Add.
-
Now add the image in the top right in the “green circle”. Navigate to your logo folder and select the image, which will then bring you back to this screen.
-
Use the Rotate button to ensure the top of the logo is pointing to the left
-
Select “To Mono”.
-
Once done, press OK.
-
Now go to Site Setup in Theme Modelling and select the required site for the logo.
-
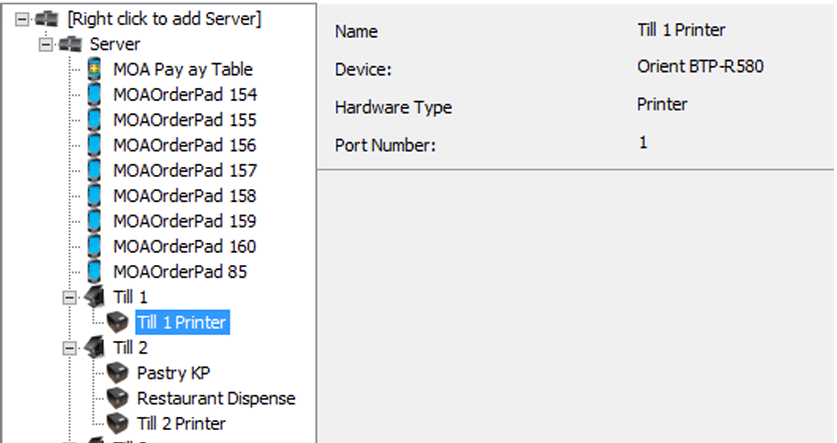
Locate the printer that you wish the logo to appear on.
-
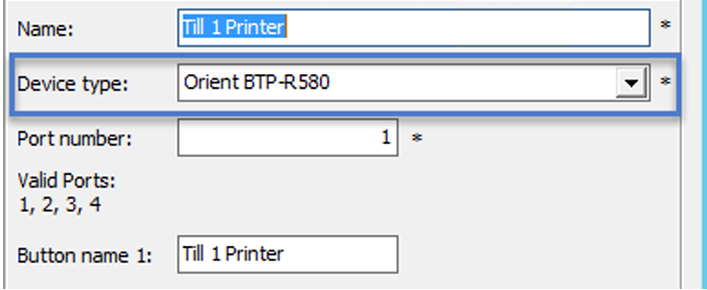
Make sure your printer is set up as an Orient (this also works for printer model CMB1000)
-
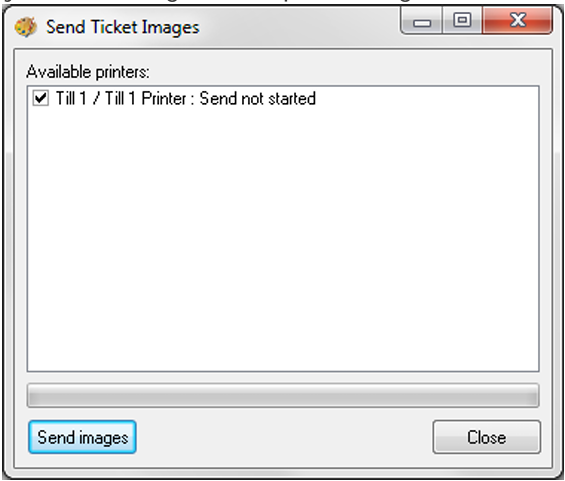
Go to Theme Modelling and press Send Ticket Image
-
You will then be presented with a list of printers. Select the printer required for the logo and select Send Images. This will then send the image to the printer and will print the example out.
-
At this point you should check to make sure you happy with the image before proceeding.
-
Select the Site as before
-
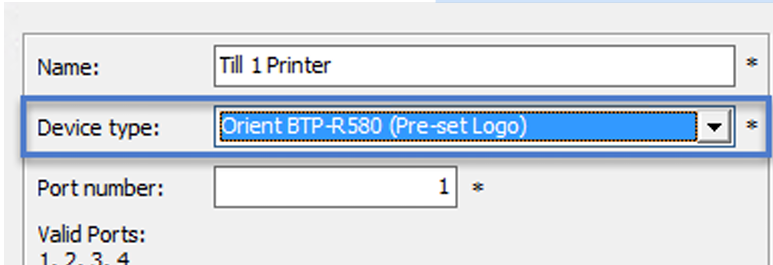
Select the Printer
-
Change the Device Type to Orient BTP-R580 (Pre-set Logo)
-
To compete the process, you need to do one of the below:
-
Head Office - A communication with a send to POS
-
Site Master – A send to POS.
-
The logo will now print at the end of every receipt, ready for the next one.
At this point, Head Office users need to complete a comms job to site, and will also need to remotely access it in order to progress to the next steps
AND
A send to POS will need to be completed for all users (i.e., both Head Office and Single Site Master sites)
The following would be completed in Theme Modelling at Head Office for HO users, and Theme Modelling for Site Master users